You may have already read or seen a variety of articles about what would happen if the grid went down or how 90% of people would die. You may also think that many of those articles are far-fetched and designed to instill fear in readers rather than seriously discuss the issue.
If that’s the case for you, then you may think the same about this article based on the title alone. But the purpose of this article is not to scare you or to spread so-called ‘doom and gloom,’ but rather to educate you on what very well could happen if the grid really went down and stayed down.
If and when the grid goes down, it’s not going to be like a normal power outage. Not even close. A true grid-down situation would last much longer, perhaps weeks or months, and during that time, a lot of things are going to happen that you never would have imagined.
In this video, i will unearth a long-forgotten secret that helped our ancestors survive famines, wars, economic crisis, diseases, droughts and anything else life trew at them.
So pay chose attention because this video will change your life forever for the good!

Here are ten scary things that would happen if the grid went down. Hopefully, this will remind you of how fragile our society actually is and inspire you to start preparing if you haven’t already.
1. No More Supply Trucks
When the supply trucks stop, no stores and restaurants are going to get resupplied. It’s not that it matters much anyway, because those stores are going to be looted and then abandoned afterward anyway.
This will guarantee that within a few short hours of the grid going down, life will already change dramatically because you will no longer be able to resupply yourself with the things that you need. Suddenly, you’ll be wondering why you hadn’t stocked up like you knew you should have been doing all along.
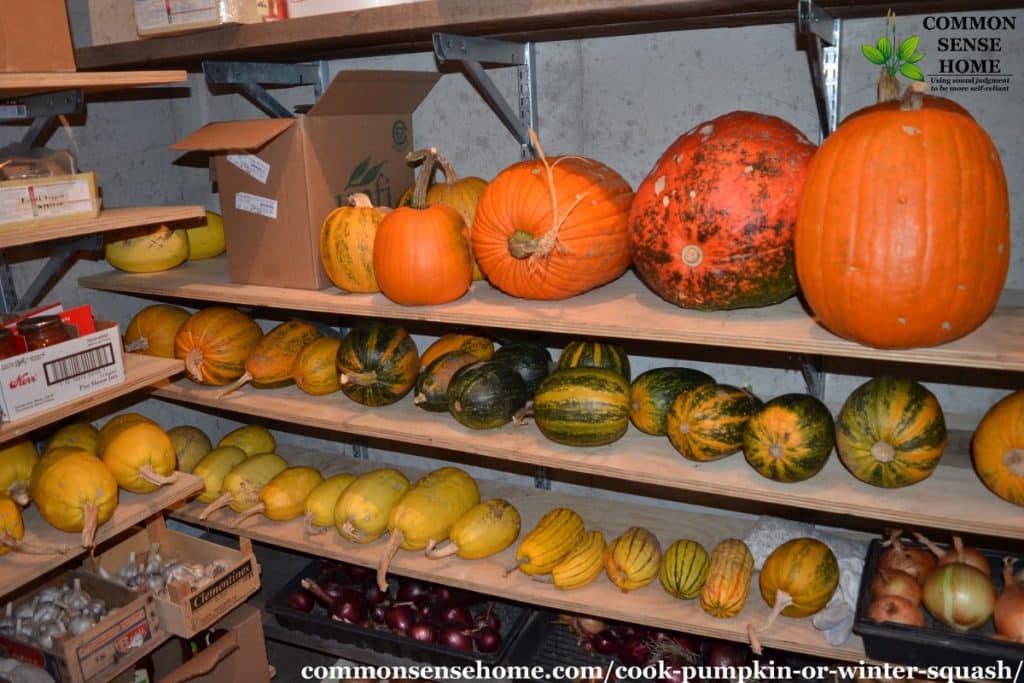
If you haven’t already, consider reading our beginner’s guide to emergency food storage.
2. All The Stores Would Close
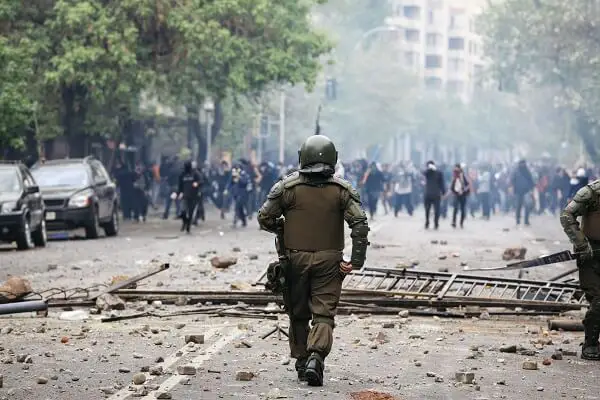
As was just mentioned, without the resupply trucks, stores and restaurants are most certainly going to be shut down. The only real question is, when will looting occur?
In some places, you can fully expect looting and rioting to occur within just a few hours of the grid going down, and perhaps even sooner than that. People are going to freak out, and everyone will recognize that it may be their last chance to get resupplied.
Once some people start looting, many more will join in just for the heck of it, and that’s not an exaggeration. Mobs and looters and raiding parties will form quickly and the general breakdown of society around you will be rapid. One moment things will be as they always were, and in the next everything will be a war zone.
If this happens, you’ll need to avoid the riots and get home fast.
3. Schools Would Be Shut Down
Schools will be shut down, even though you can also guarantee they will hold onto any students in session during the early stages of the grid down situation. It’s incredibly unlikely that school administrators and educators will simply release children into the chaos, making it the responsibility of the parents to show up and retrieve their kids in schools.
These Solar Backup Generators Deliver 4 Times More Power Than Other Models!
4. Commerce Would Cease
This is one that you’re going to want to think about. A grid down situation is seriously going to lead to a complete and utter breakdown of commerce as we know it. Banks will no longer be open, ATM’s won’t work, and debit and credit cards will no longer be of any use.
Will you still be able to use cash? Possibly. At the very least, you’ll be able to use it in the early hours of the disaster before things get really bad. You can head on down to your local store and buy as much stuff as you can get if you know things are about to head south.
(Here are 23 survival uses for honey that you didn’t know about.)
Beyond that though, it’s difficult seeing cash being of much use for anything. The reason is simple: it has no value other than what people attach to it, and it’s not something we can use to stay alive. In the event of hyperinflation, where the individual dollar will lose value rapidly, it will be of literally no use at all other than as an alternative to Kleenex or toilet paper.
The only type of real commerce that will be going on after then will be bartering, or where people exchange certain goods that we need to survive for other goods. For example, you may be able to trade a box of ammo for several rolls of toilet paper (both of those things are going to be in very high demand following a major disaster).
Preparedness Hacks: Once a nuke is heading your way, you might think that there isn’t much left to do, but you would be wrong!
Because we will show you America’s natural nuclear bunkers that are also EMP proof. When the sirens start wailing, all you need to do is pick the closest one to your home, where you can take cover before it hits.

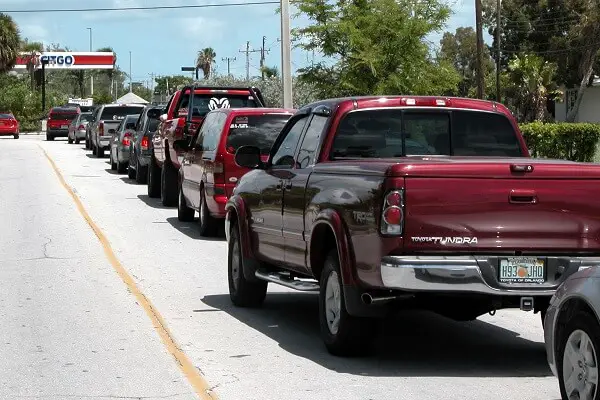
5. Gasoline Would Be Gone
This is a big one. Gasoline is going to become one of the most precious commodities once people are unable to get any more of it at gas stations.
Everything from cars to motorcycles to ATVs to generators all run on gasoline. We’ve all seen post-apocalyptic movies and TV shows where literally thousands of cars are lying uselessly abandoned by the side of the road. Well, that really won’t be all too far from reality.
In short, once the gasoline supply runs out, we’ll lose everything that runs on gasoline. The only gasoline we’ll have left is what you have stored and what you will be able to barter from other people (and you can guarantee that it’s going to command a very high price).
6. Cell Service Would Stop
Your phone may still work after a grid down, but it’s honestly not going to do you much good if you aren’t able to use it to access cell service or the internet.
It’s one reason why investing in other communication devices will be so important, such as a HAM radio or a CB radio.
Once the Internet and cell service goes down, communication, as we know it in general, is going to get very different (and not at all easier).
7. Post Offices Would Close
You can say goodbye to ordering products from Amazon or sending or receiving mail from people when the grid goes down. This will greatly impact the way that we communicate with people long distance as well.
8. Air Conditioning Won’t Work
Is a lack of air conditioning life-threatening by any means? It depends. In the middle of summer, it very well could be if you don’t take steps to keep yourself cool without AC. At the very least it will be very uncomfortable. And it’s not just air conditioning you won’t have anymore…
9. Heaters Wouldn’t Work
Just as the summer months are going to get really uncomfortable due to the lack of air conditioning, so will the freezing cold winter months due to the lack of heat.
In fact, the lack of heat is going to be a far worse problem than the lack of air conditioning and really could be life-threatening if it ever gets particularly cold outside.
This is why you’re going to want to stock up on as much firewood, propane bottles for heaters, and candles as you can. The firewood will be good if you have a firewood stove inside your home, but even if you lack the stove, you can still use it for getting a small and controllable fire outside.
Meanwhile, propane-run heaters will also be good to stock up on and cost less than five dollars each on average, and you can even use candles for warmth and light as well. Finally, be sure to invest in plenty of warm blankets and sleeping bags to go with it.
10. No More Running Water
This is another big one. You won’t be able to run the dishwasher or the washing machine anymore, nor would you be able to take a shower, run the bath, water your plants, or even fill up a sink.
This is why when you stockpile water, you need to stockpile both drinking and cleaning/personal hygiene water. The recommended amount will be at least one gallon of water per person per day. One half of that gallon will be for drinking, and the other half will be for cleaning and personal hygiene.
Water filters and purification tablets will also be immensely important because when you do manage to procure more water for drinking purposes from other sources, it may not be safe to drink. Drinking unsafe water can oftentimes be more unsafe than not drinking any water at all, which will make a water filter device even more important and critical to own.
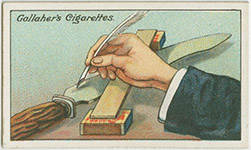
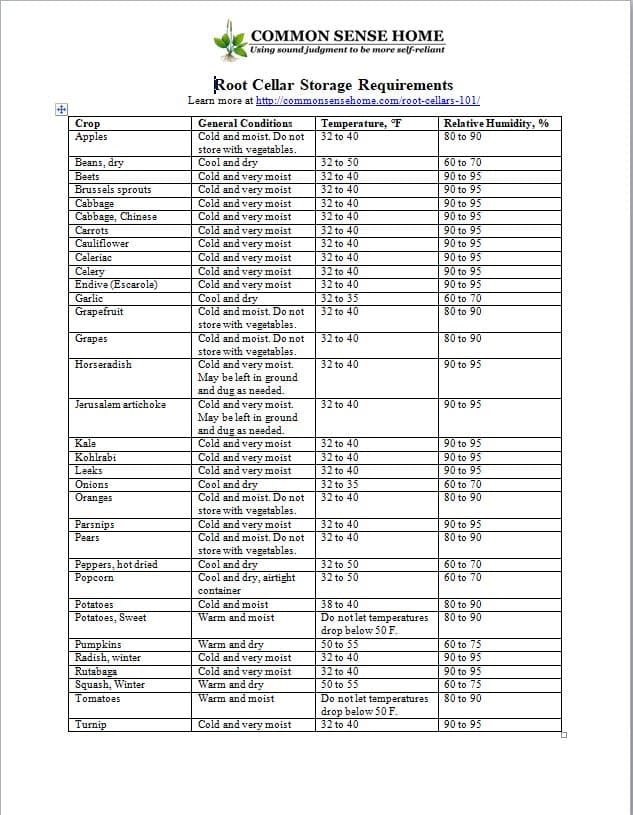
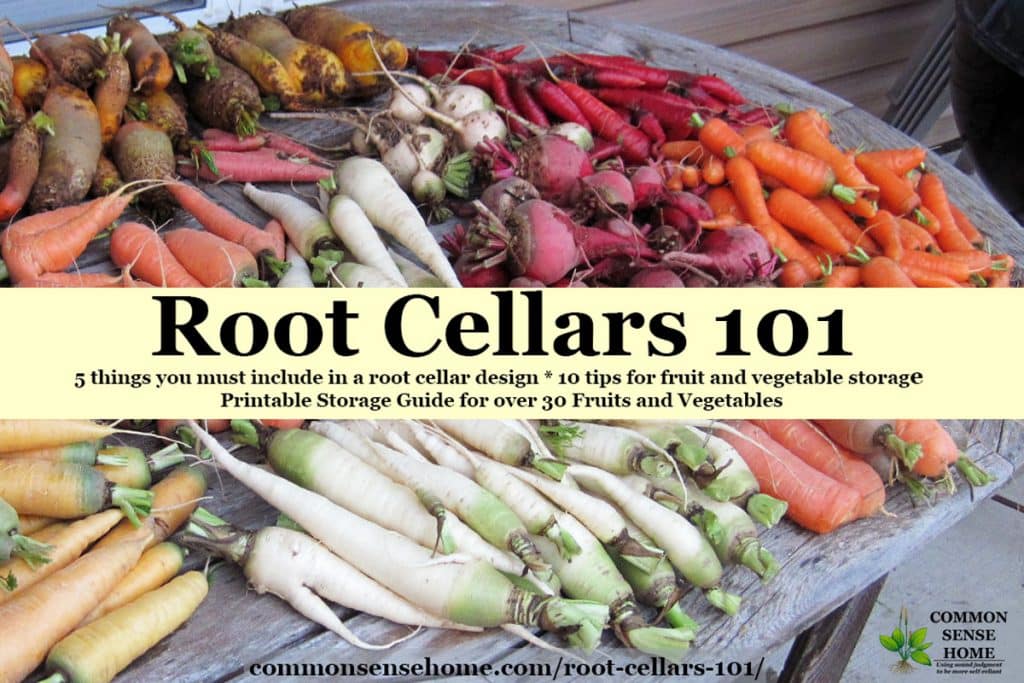
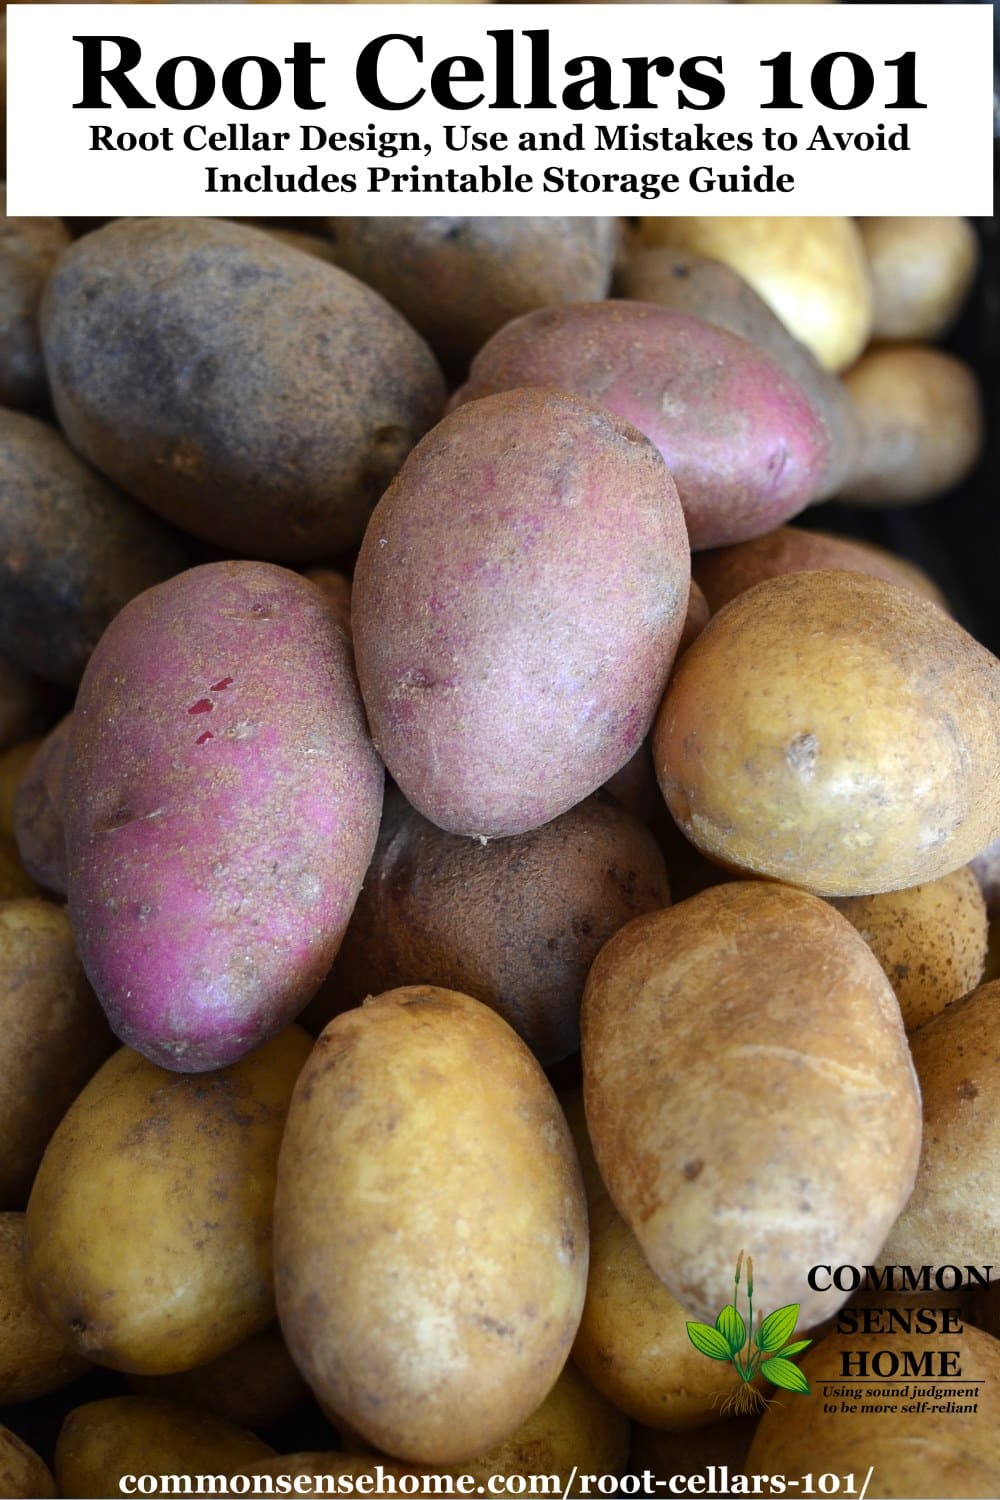
This guide below can help you in a survival situation
A lot of the popularity of firearms is due to the fact that anyone can use them effectively, not only the strong and agile. The young, the old, men, women and child can take up firearms in defense of home and family and do so effectively.
But what do you do if you can’t use a gun – or if you don’t have a gun — to protect yourself?